Quality Control of Friction Stir Welding
Quality control for Friction Stir Welding (FSW) is crucial to ensure the reliability and performance of welded structures in various industrial applications. Friction Stir Welding is an innovative method offering numerous advantages, including better mechanical strength and reduced defects compared to traditional welding methods. However, to ensure these welds meet quality and safety standards, rigorous inspections are essential. This article explores different quality control methods focusing on destructive and non-destructive techniques, to provide a comprehensive assessment of FSW weld integrity.
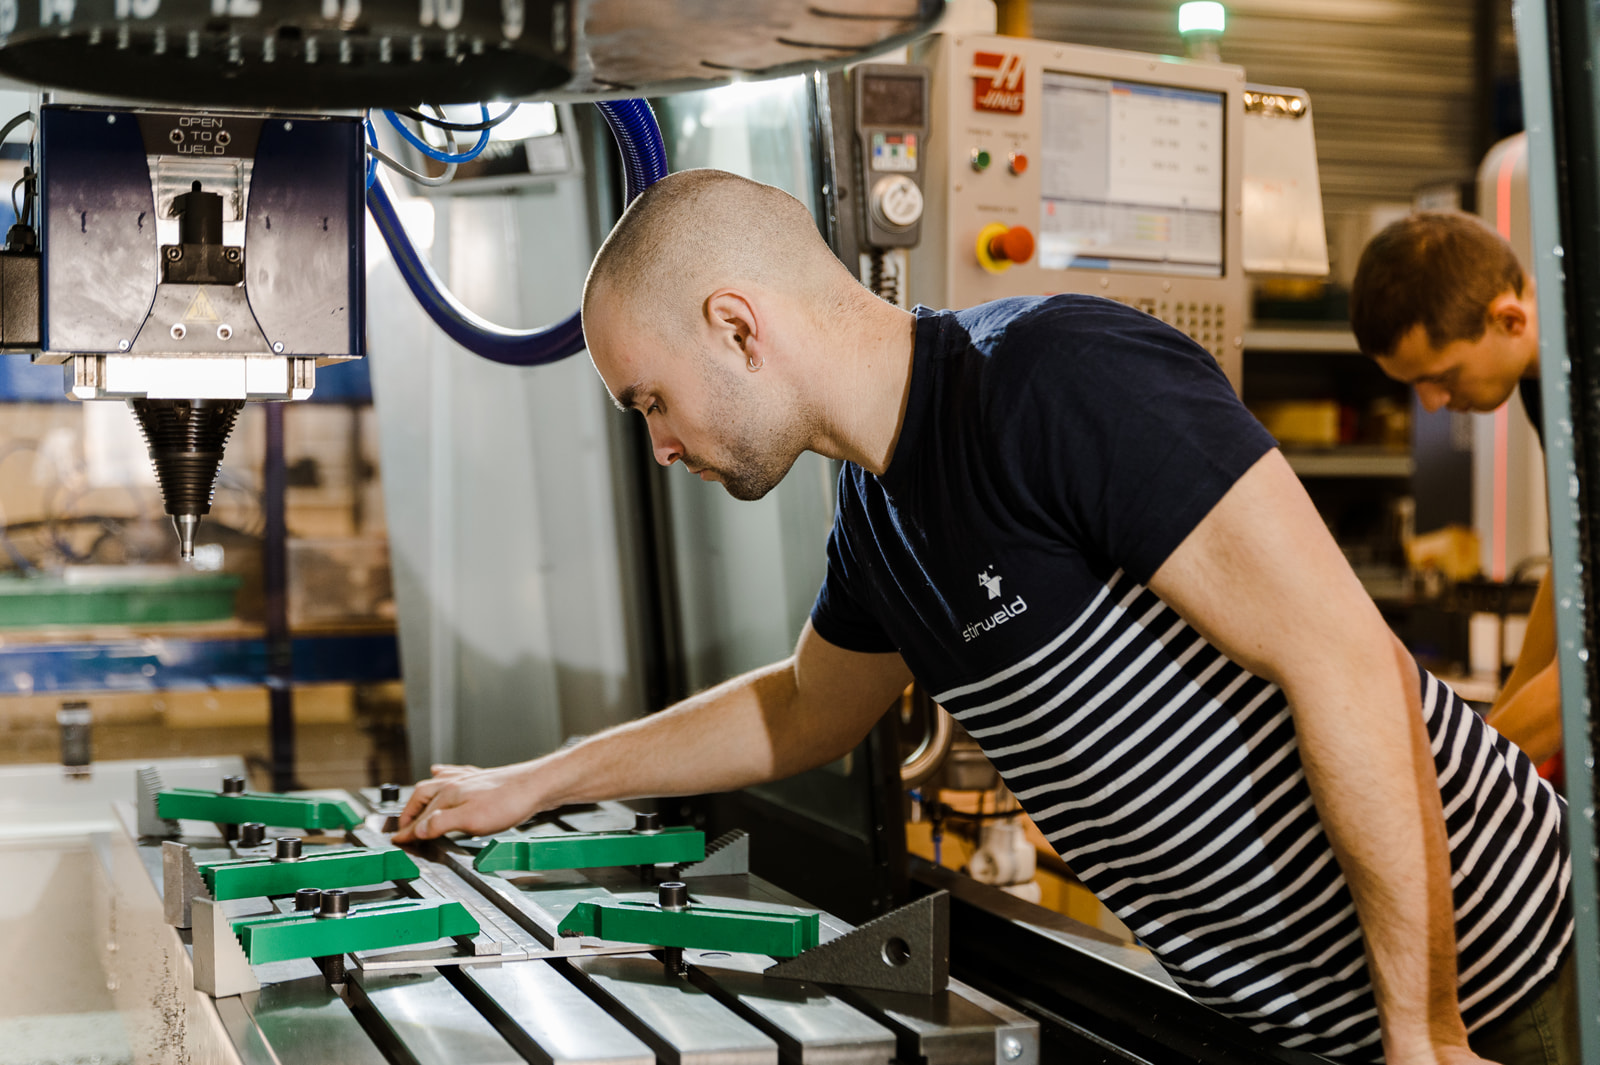
Destructive testing in FSW welding
Destructive testing is a vital approach in evaluating the quality of Friction Stir Welding (FSW). Unlike non-destructive methods, these tests involve the partial or total destruction of the sample to reveal detailed information about the internal structure and mechanical strength of the weld. Although this approach is not feasible for batch inspection, it offers an in-depth understanding of potential defects and overall weld performance. The most commonly used methods in this category include examinations according to ISO 25239, pressure tests, and fatigue tests.
Destructive Testing According to ISO 25239
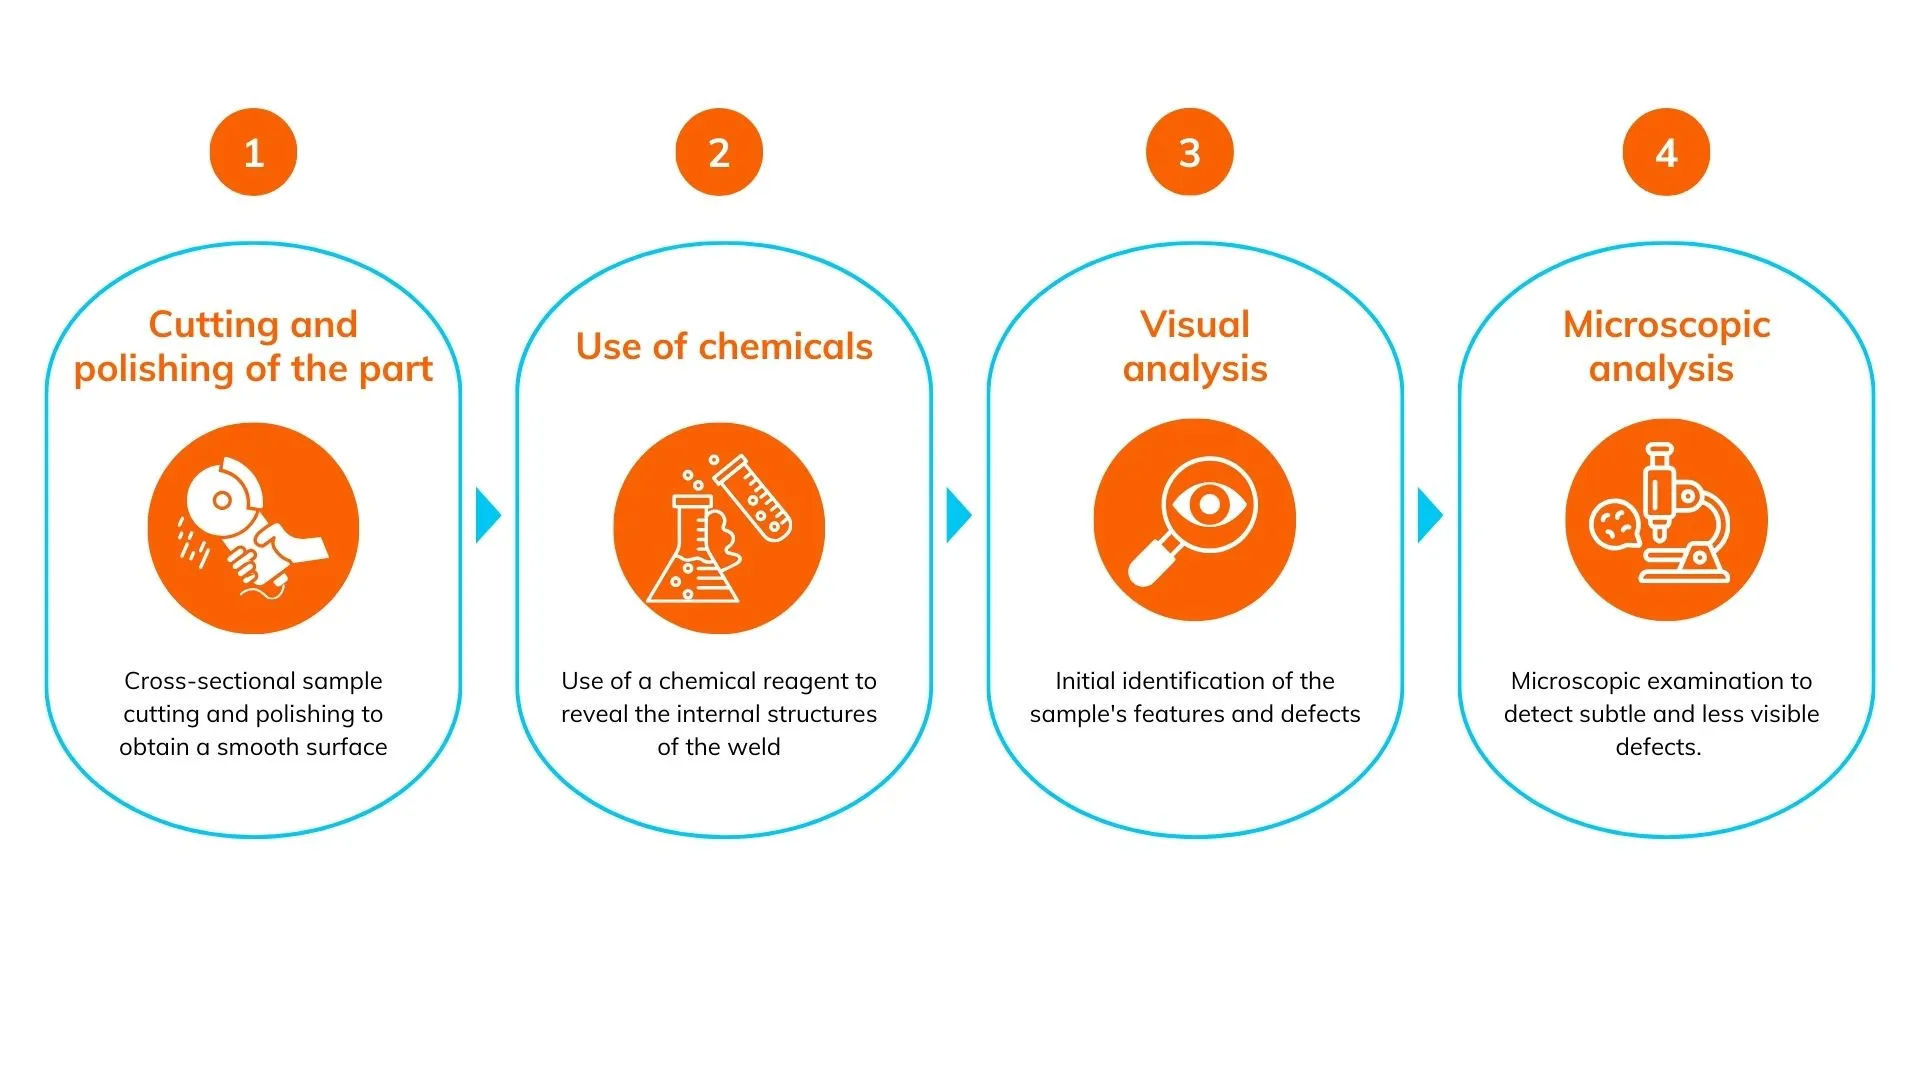
Macrography
Macrography is an essential technique for evaluating the quality of friction stir welding (FSW). This method involves cutting a cross-section of the weld, also known as a metallographic cut, to examine its internal structure under a microscope. The main defects sought are wormholes, which are continuous cavities inside the weld, and lack of penetration (LOP), indicating insufficient weld penetration and therefore a lack of mixing at the weld root. These defects can compromise the structural integrity of the weld. Additionally, macrography helps identify subtle defects such as hooking, a deformation near the weld, and kissing bond, a bonding defect between the welded materials. Although less visible, these can affect weld performance under certain stress conditions (mainly cyclic fatigue).
Discover the 4 steps for macrography here :
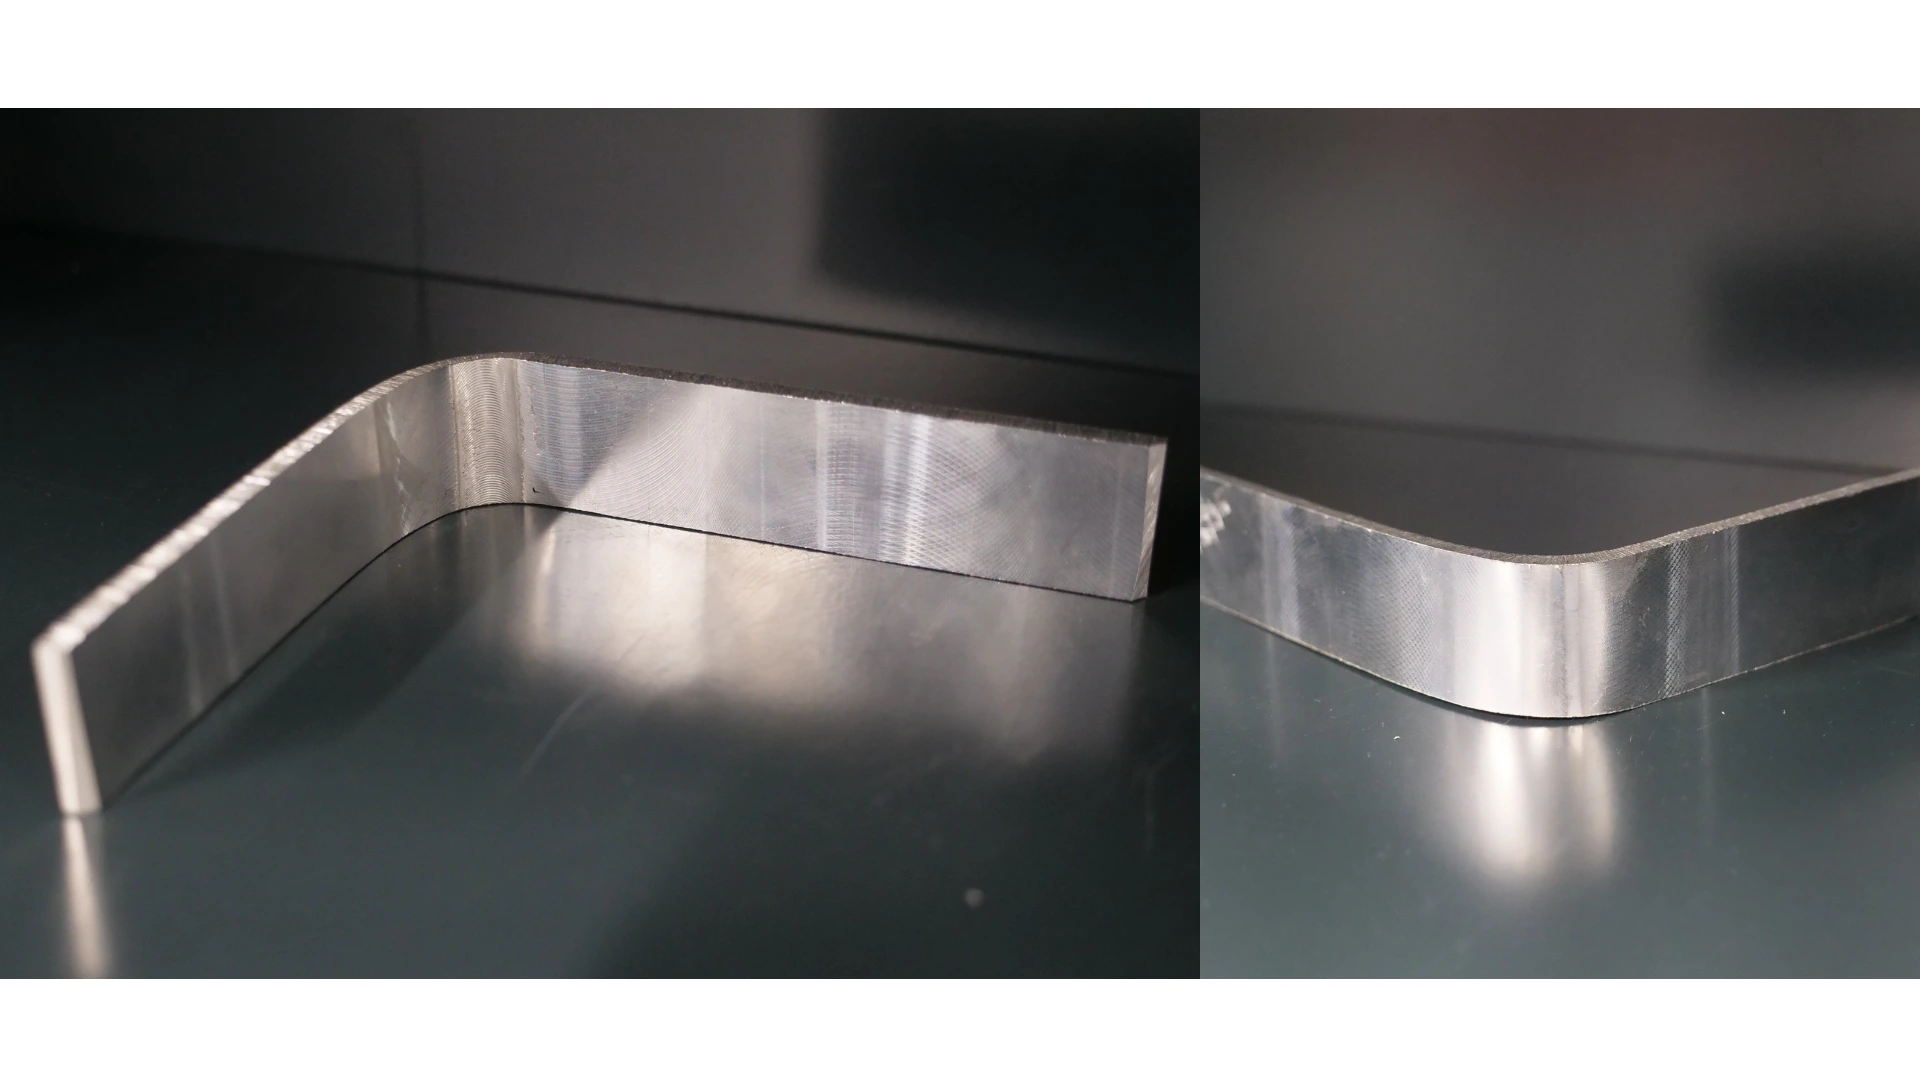
Face and Root Bend Tests (U) for Edge-to-Edge FSW Welds
The face and root bend test are a commonly used method to assess the ductility and strength of edge-to-edge FSW welds. This method highlights lack of penetration (LOP) defects on the root side of the weld. By bending the sample, weak areas become apparent through weld failure, facilitating the identification of potential issues. This test is crucial to ensure the weld has uniform strength and no critical areas that could cause failure under load.
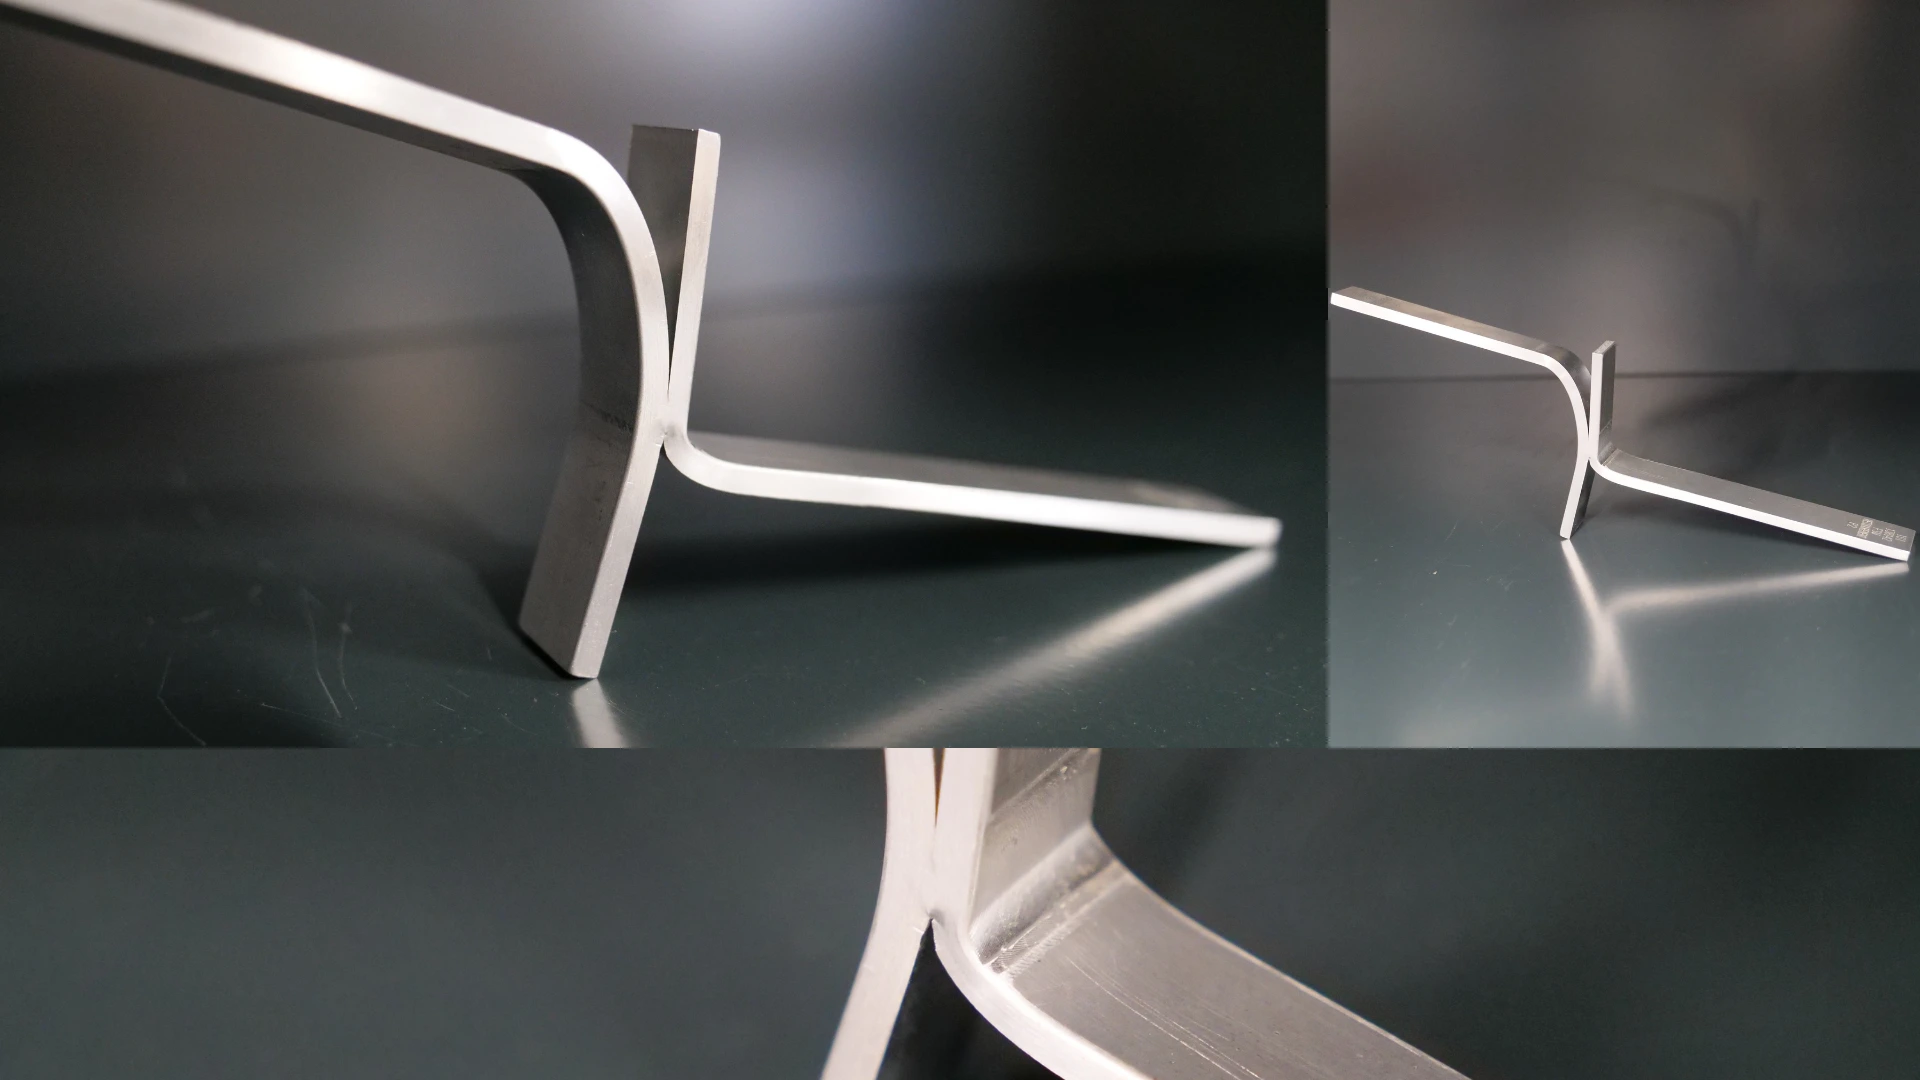
S-Bend Test for Transparency FSW Welds
The S-bend test is used to evaluate the influence of internal defects such as hooking and kissing bond. Although this test does not directly visualize these defects, it highlights their impact on the weld in terms of deformation and strength. By subjecting the weld to complex bending stress, the test reveals valuable information about stress distribution and the weld’s ability to withstand varying load conditions.
Tensile Test for Edge-to-Edge FSW Welds
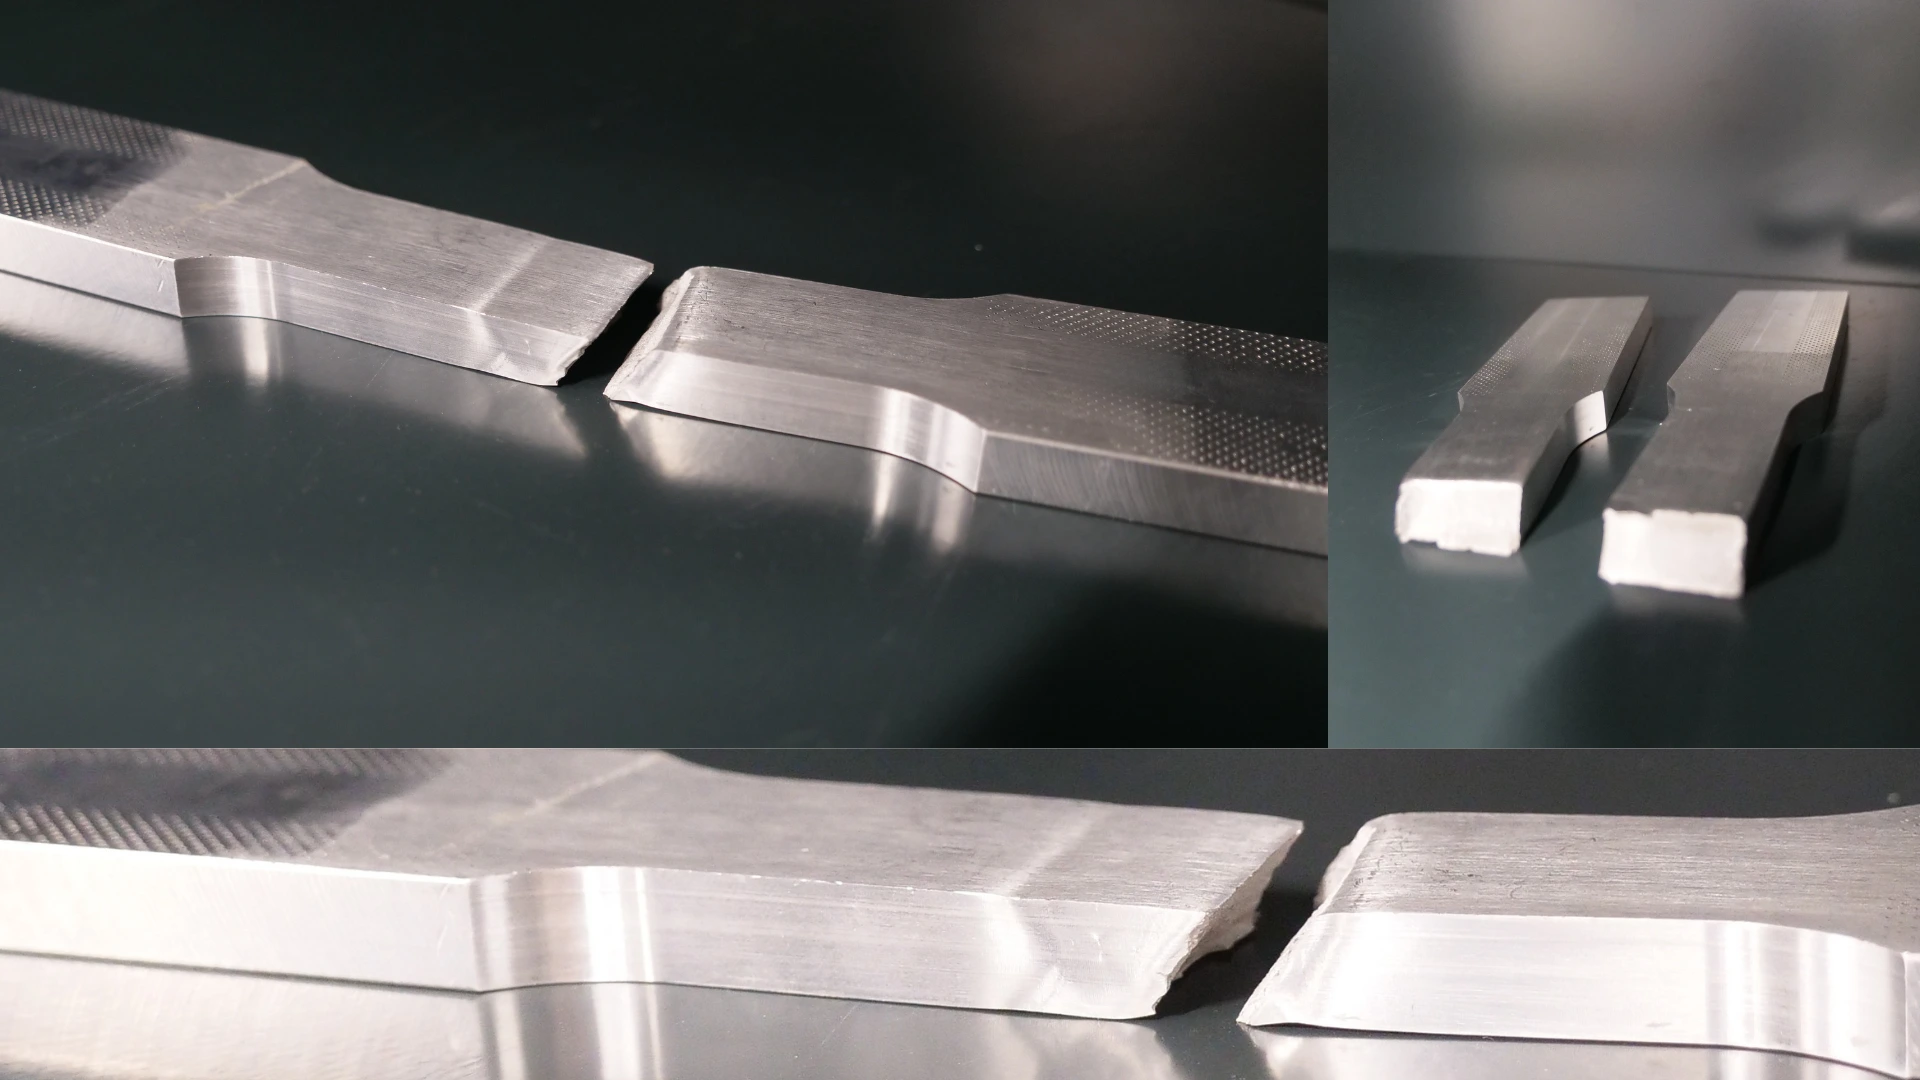
The tensile test is an essential destructive technique for evaluating the mechanical strength of edge-to-edge welds. By subjecting the weld to tensile force until failure, it is possible to measure the joint’s efficiency and determine its ability to withstand mechanical loads. The results of this test provide crucial data on the weld’s mechanical strength, ensuring the weld meets specified performance requirements. This test is particularly important for applications where weld strength and reliability are paramount.
Other destructive Testing Methods
Pressure Tests
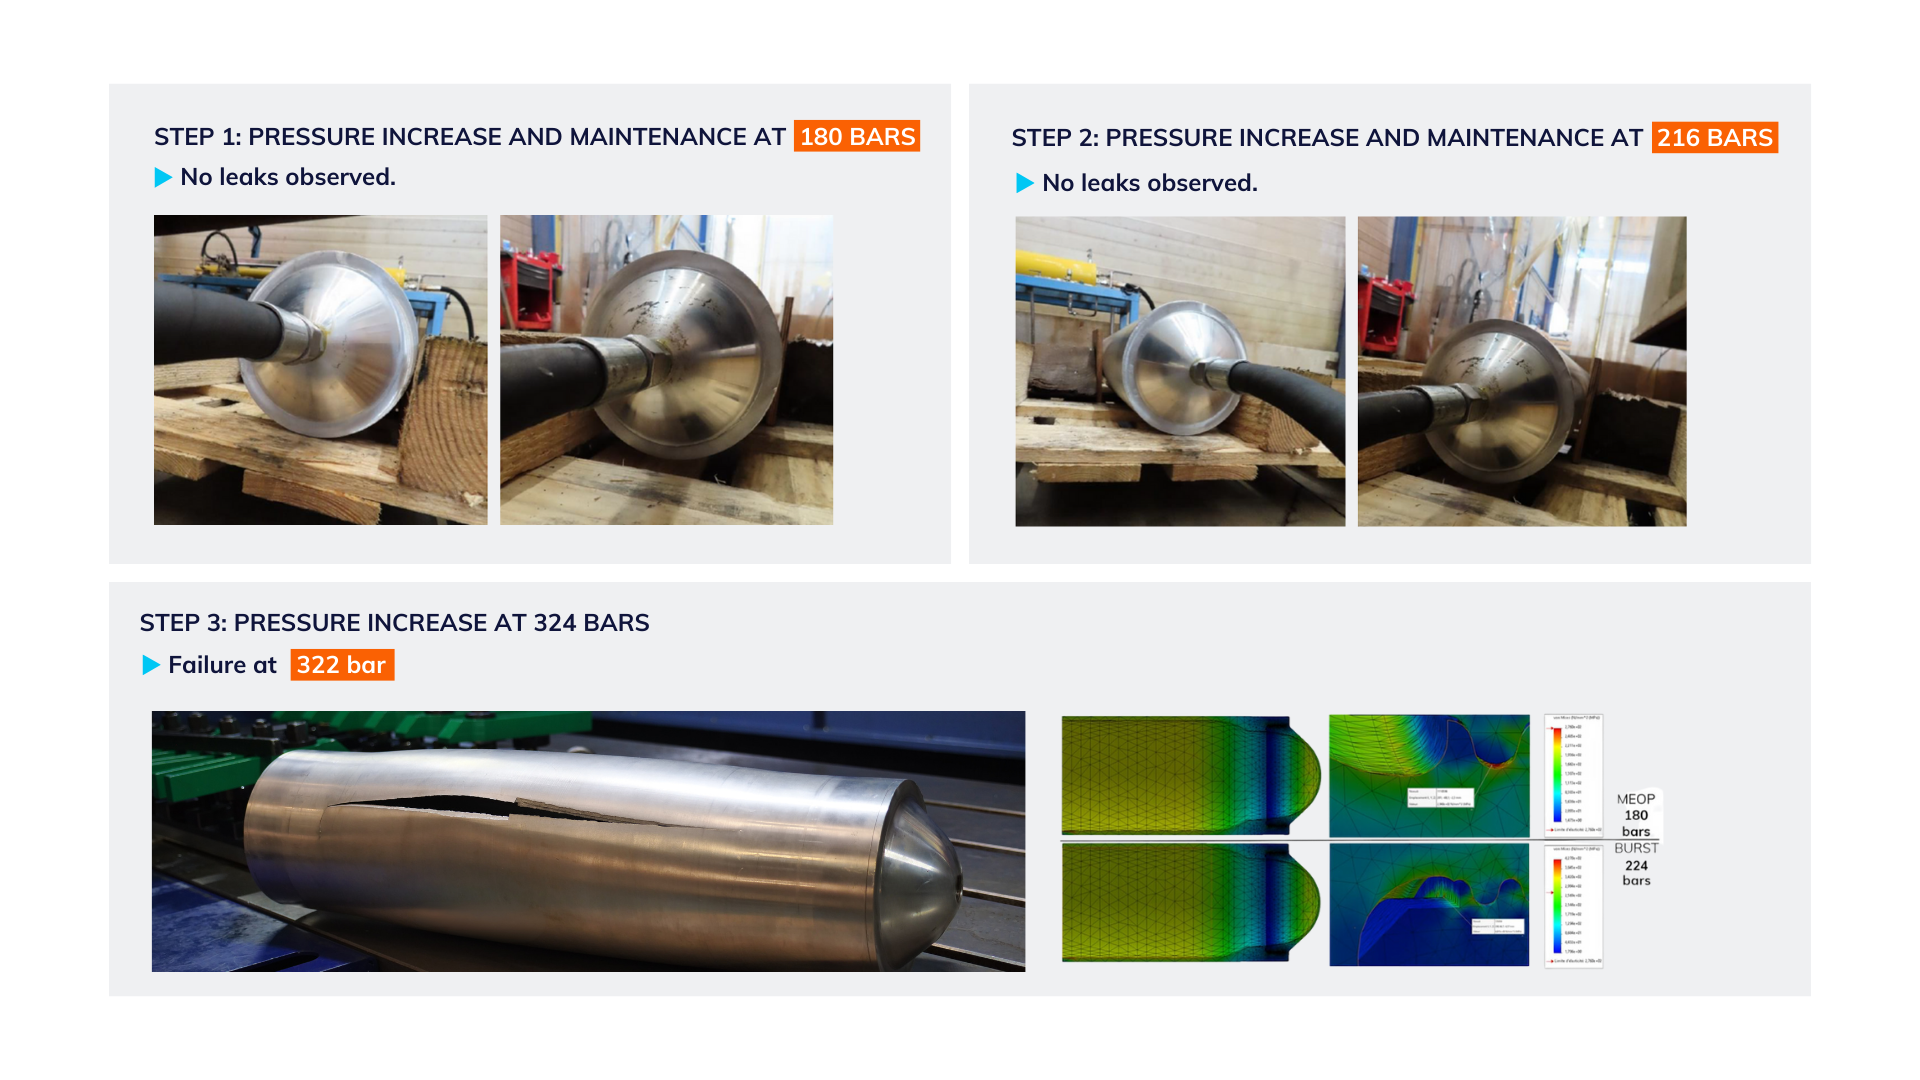
The pressure test, commonly referred to as the “burst test“, is a destructive method used to evaluate the weld’s resistance to high internal pressure. This technique involves subjecting the weld to increasing pressure until the sample bursts. The goal of this test is to determine the maximum pressure the weld can withstand before failure. This test is particularly relevant for applications where welds must contain pressurized fluids or gases, such as heat exchangers, tanks, or hydraulic systems. The results provide clear indications of weld quality and reliability by identifying potential weak points that could lead to service failures.
Fatigue Tests
Fatigue tests are crucial for evaluating the durability of welds under repeated cyclic loads. These tests simulate real conditions the welds will encounter during their service life. There are two main fatigue testing methods: repetitive bending and cyclic tensile:
These fatigue tests are essential to ensure welds can withstand service conditions without premature failure, thus ensuring the long-term safety and reliability of welded structures.
Non-Destructive Testing in FSW
Non-destructive testing (NDT) is a fundamental approach for evaluating the quality of friction stir welding (FSW) without damaging the inspected parts. These techniques allow for the detection of internal and surface defects, ensuring weld integrity while maintaining their functionality.
Visual Inspection
Visual inspection is often the first step in non-destructive testing of a weld. This simple and quick method detects visible surface defects such as cracks, porosity, and deformations. Although limited to external defects, visual inspection is essential for an initial quality assessment of the weld.

Ultrasonic Inspection
Ultrasonic inspection is a non-destructive technique using high-frequency sound waves to detect internal defects in the weld. Two variants are particularly relevant for FSW:
X-Ray Radiography and Tomography
X-ray radiography uses X-rays to produce images of the weld’s internal structure. This method effectively detects defects such as wormholes and significant lack of penetration (LOP). Radiography provides a two-dimensional view of the weld, revealing density variations indicating defects.
X-ray tomography, a more advanced variant, uses multiple radiographic images taken from different angles to create a three-dimensional image of the weld. This technique offers a more detailed visualization of internal defects and is particularly useful for complex analyses requiring deeper inspection.
Dye Penetrant Testing
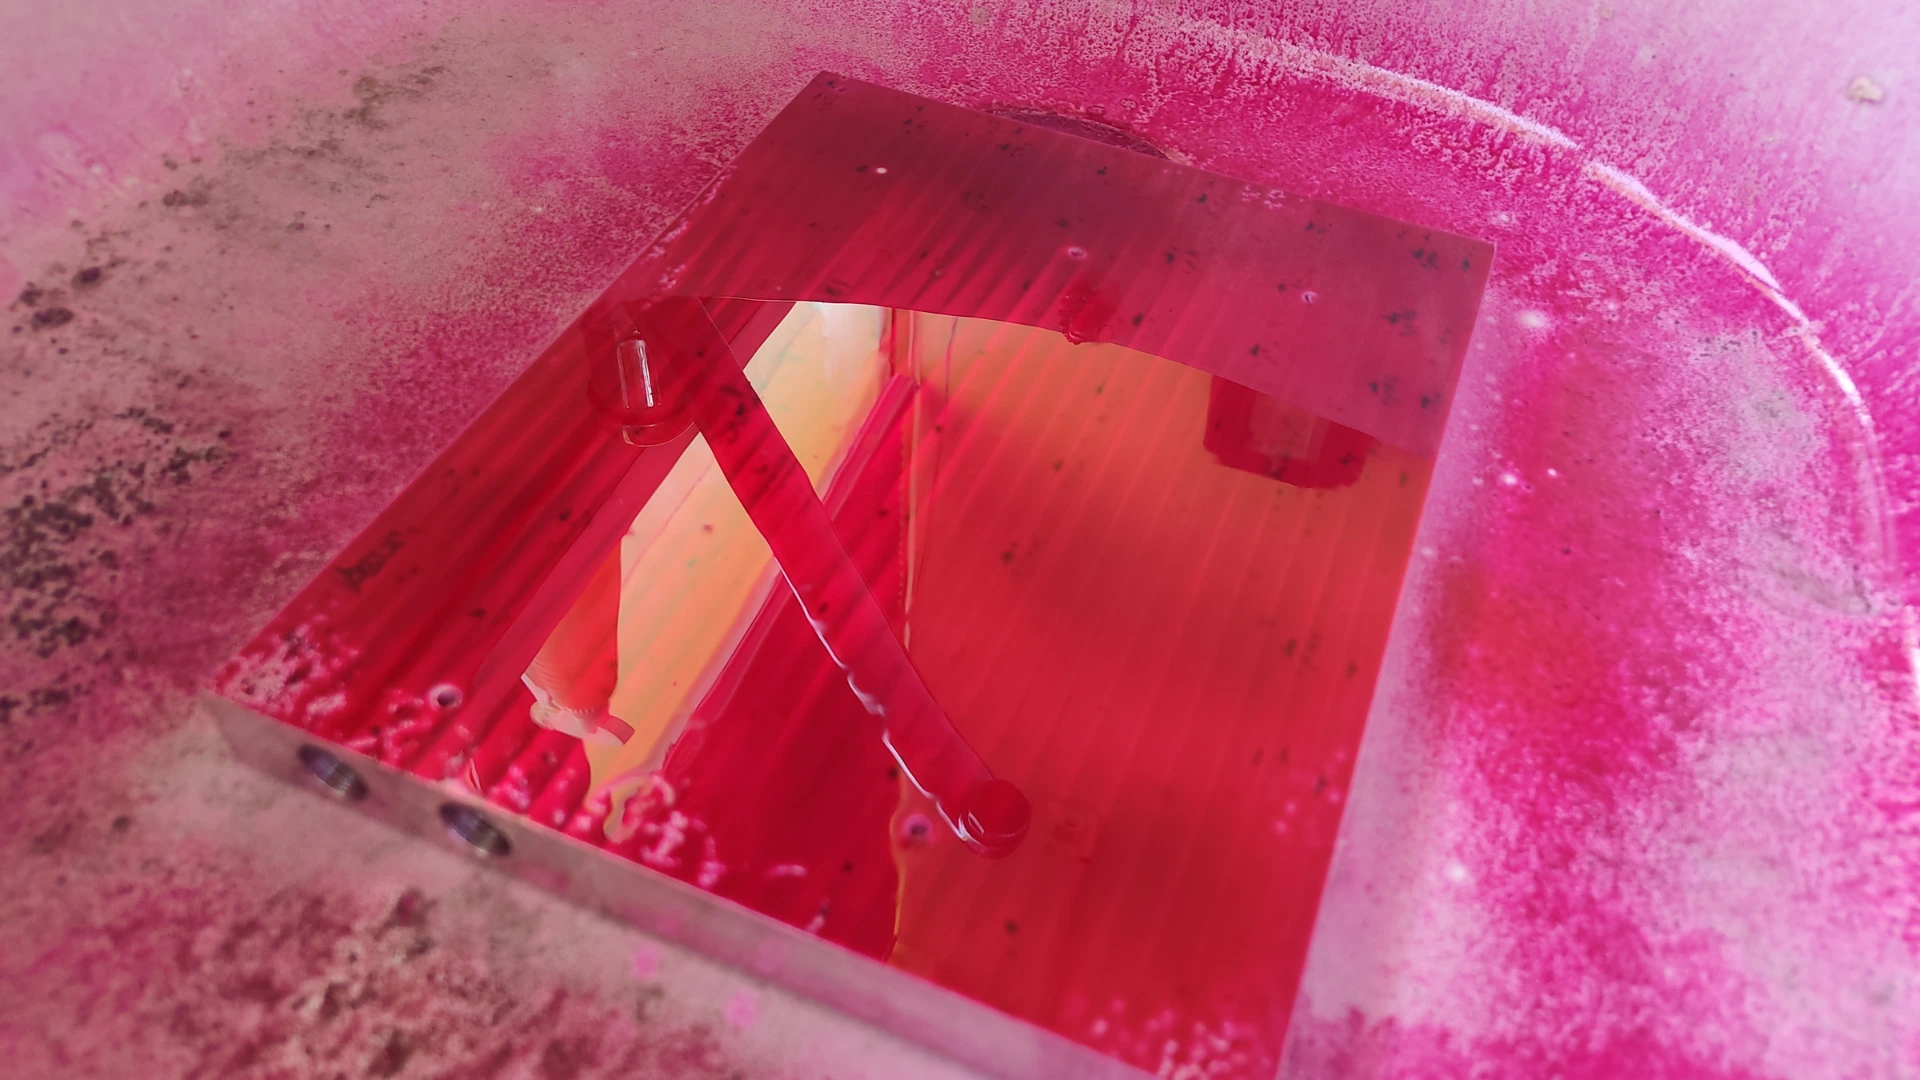
Dye penetrant testing is a simple and effective method for detecting open surface defects such as cracks and open wormholes. This technique involves applying a colored or fluorescent penetrating liquid to the weld surface. The liquid infiltrates open defects. After a certain time, the excess liquid is cleaned off, and a developer is applied to highlight the remaining liquid in the defects, making them visible. Dye penetrant testing is particularly useful for detecting lack of penetration and surface defects that might not be visible to the naked eye.
Eddy Current Testing
Eddy Current Testing is a non-destructive method using electromagnetic fields to detect surface and subsurface defects in conductive materials. This technique involves applying an alternating current to a coil, creating a magnetic field. When the coil is placed near the weld surface, induced eddy currents in the material interact with defects, altering the magnetic field. These changes are detected and analyzed to identify anomalies such as subsurface wormholes and lack of penetration. Eddy current testing is fast and sensitive, offering an effective method for evaluating FSW welds thinner than 5 mm.
These non-destructive testing techniques are essential for ensuring the quality and reliability of Friction Stir Welding, allowing for the detection and correction of potential defects without compromising the integrity of inspected structures.
Quality control of Friction Stir Welding is an indispensable process to ensure the robustness and reliability of welded structures. Destructive methods such as those conforming to ISO 25239, pressure tests, and fatigue tests offer an in-depth understanding of weld performance and potential defects. Concurrently, non-destructive techniques like visual inspection, ultrasonics, X-ray radiography and tomography, dye penetrant testing, and eddy current testing provide a comprehensive assessment without damaging the inspected parts. Combining these approaches ensures that FSW welds meet the highest quality and safety standards, ensuring the durability and performance of finished products in their respective applications.
Having quality issues?
Our experts are here to help. With years of experience and cutting-edge equipment, we help you control your parts and ensure that your welds meet the highest standards. Don’t hesitate to contact us to discuss your specific needs and discover how we can assist you in improving the quality and reliability of your welds.

